


EVOLUTION TRAVERSE /

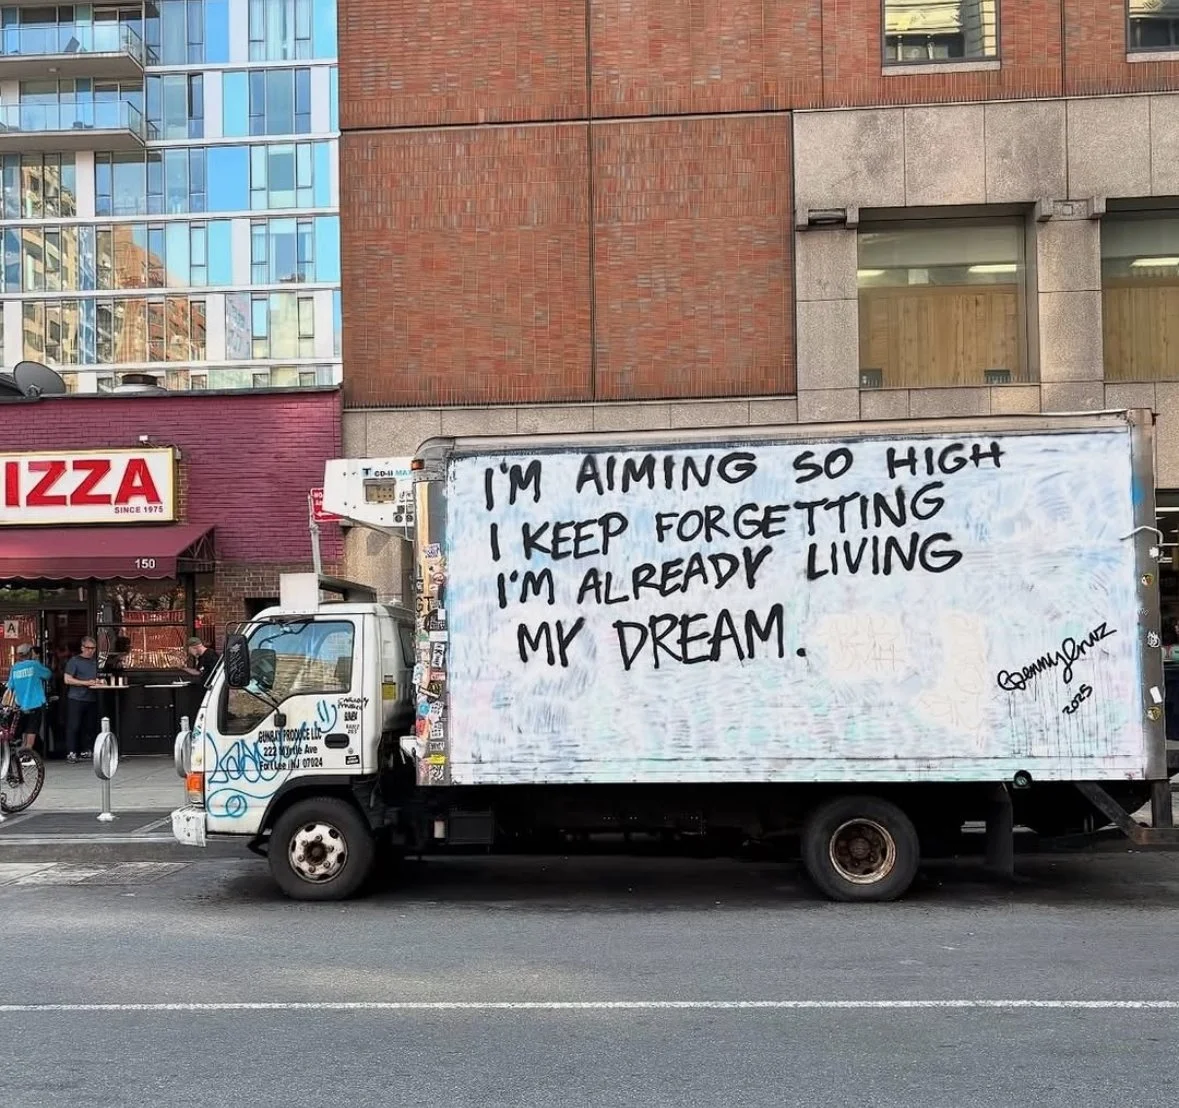
“To climb for miles and never leave the skyline…” - Peter Croft
The Evolution Traverse has been on my bucket list as long as I can remember. For so long, it was a far-off fantasy – too big and serious to comprehend until I was “ready.” Fast forward years of climbing and scrambling all across the High Sierra, and I suddenly found myself in that position of mentally ready and technically capable, but the worry of being physically ready still lingered in the back of my mind. Climbing not measured in vertical feet but in miles; two days of having to be mentally sharp for soloing, and just the willpower to dive headfirst into a mission that is sure to be somewhat of a sufferfest.
I’ve been thinking about risk assessment more recently - my relationship to it, but also other people’s relationship to it, and how to talk about things like soloing in the mountains with the deference it deserves. Not to post about things like this as casual no matter how casual it may feel, for fear of how it might influence others. It’s hard to put these things into perspective when some of the most competent climbers you know have died soloing, and others do things like the Evo in a day and treat it as a casual backyard mission. And you’re left thinking, where do I fit in on that scale? Food for fucking thought.

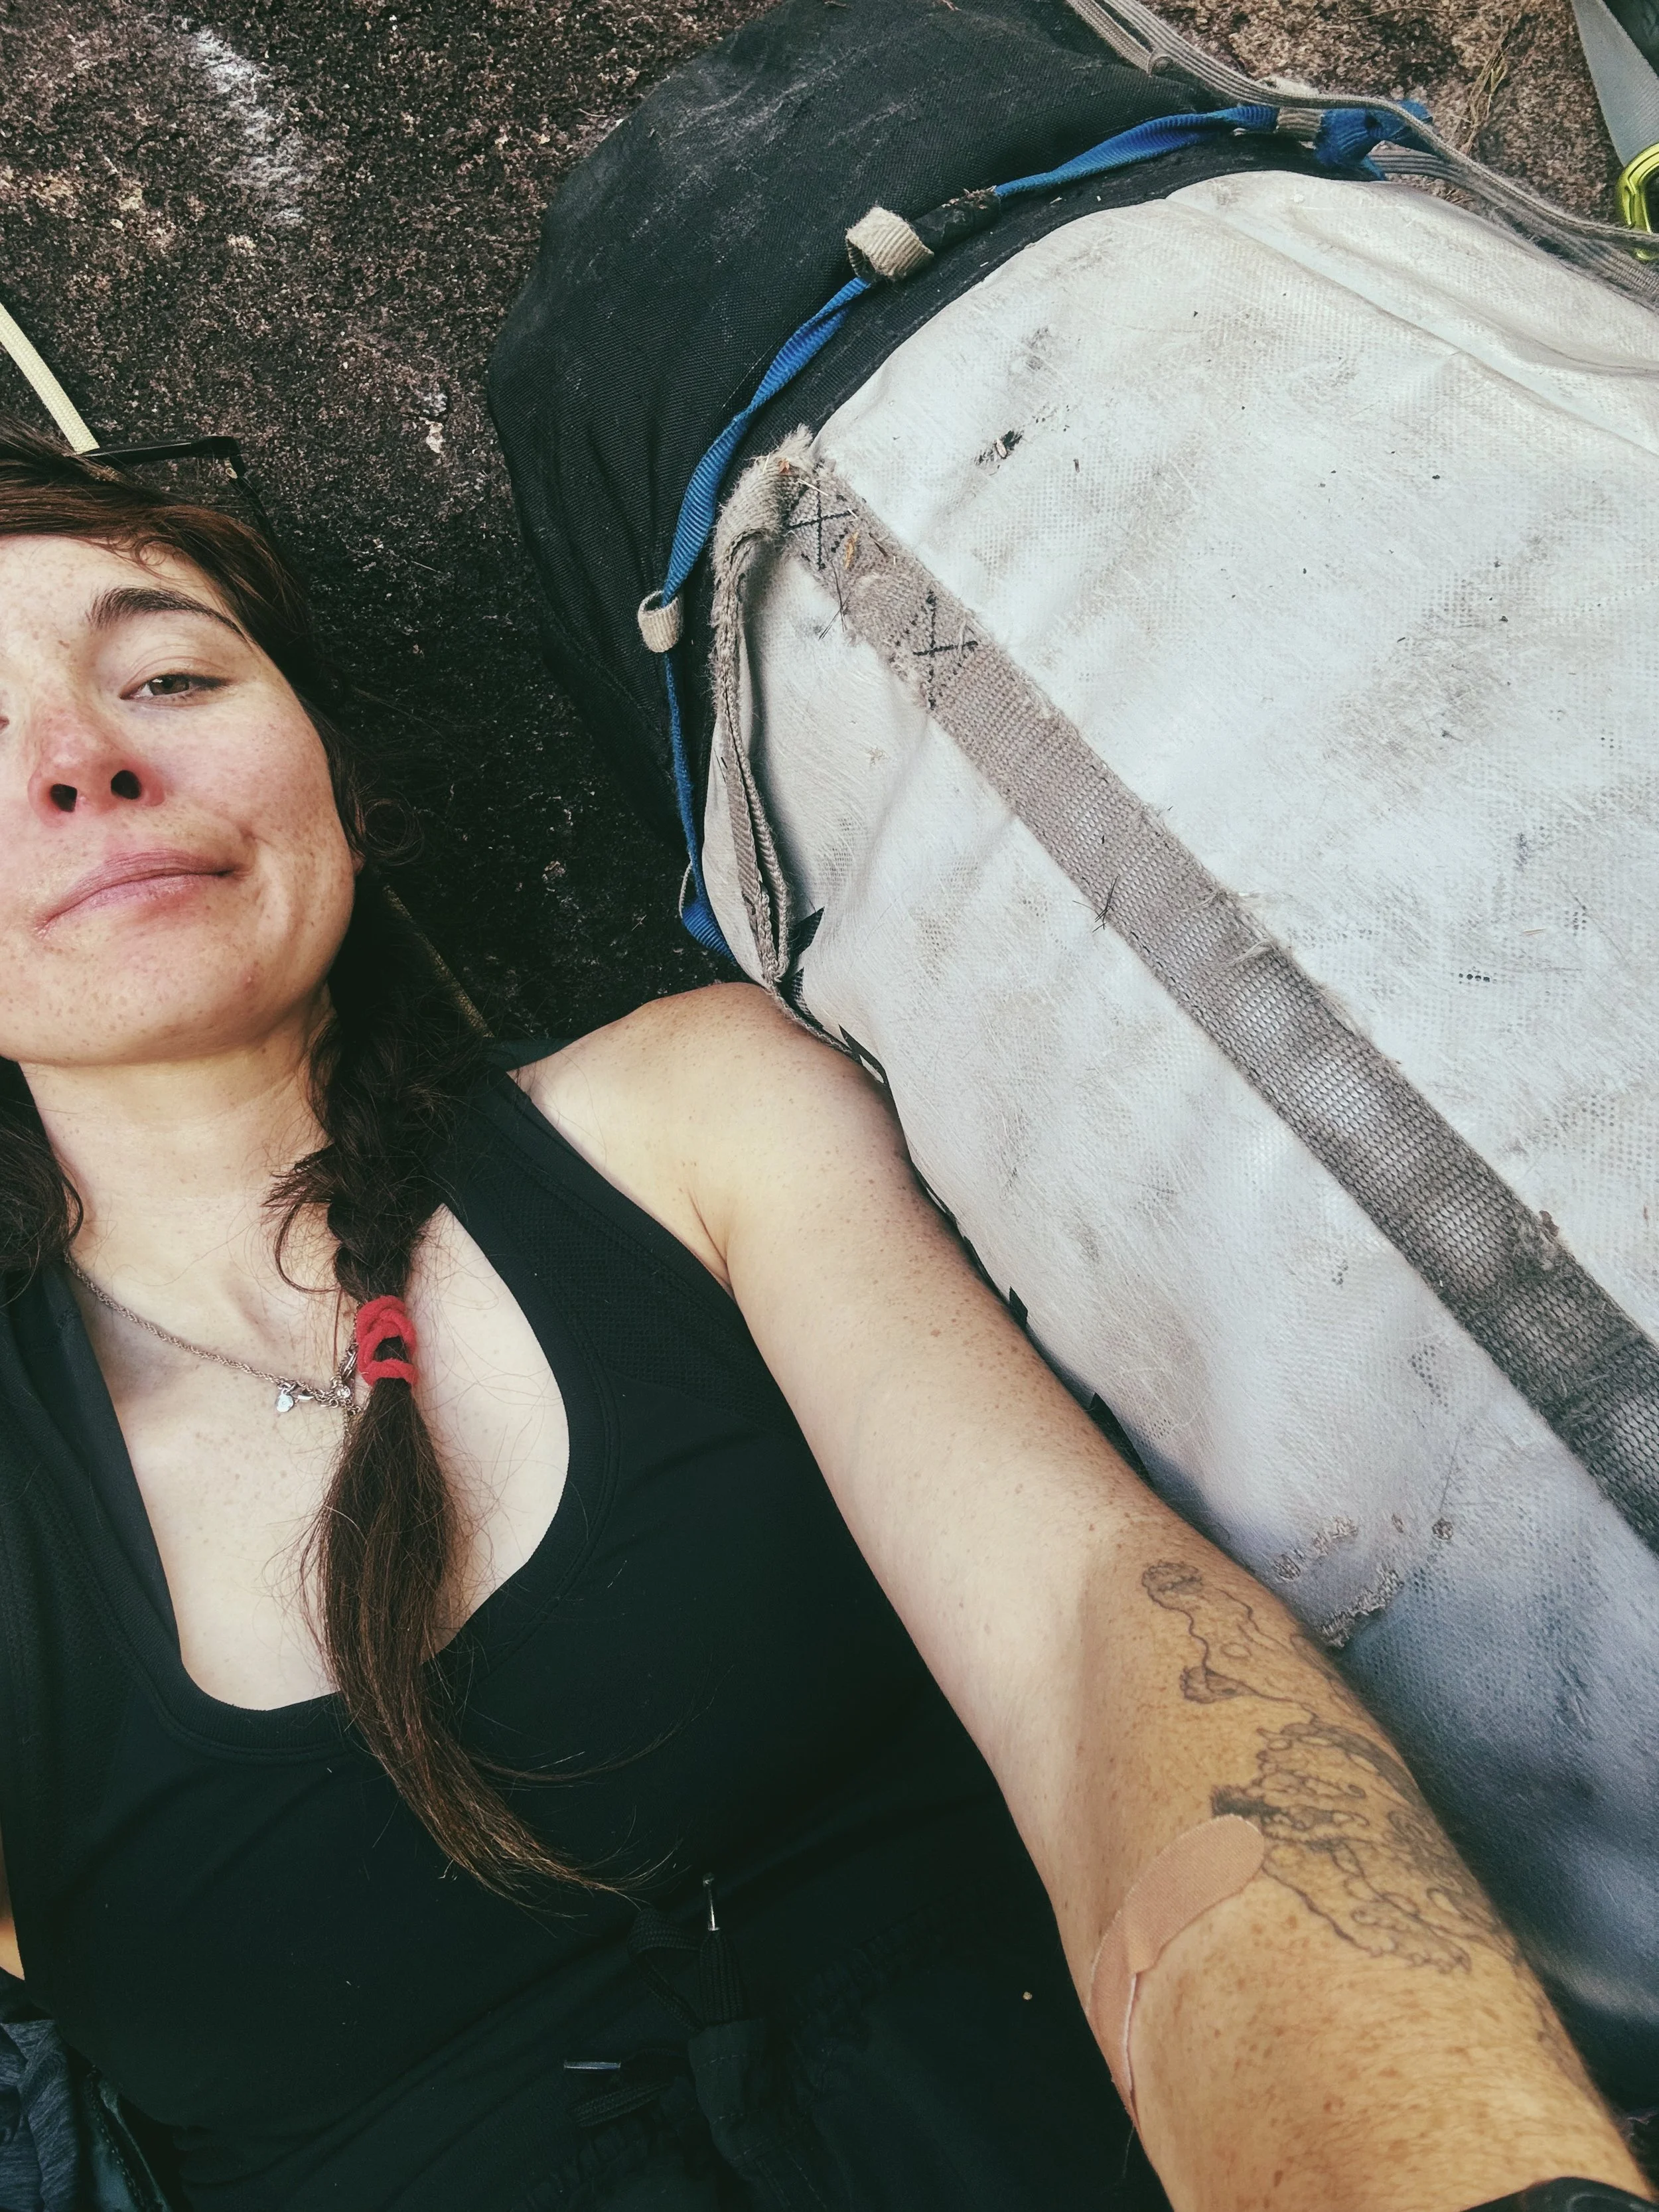
And if contemplating one’s mortality soloing in the mountains isn’t enough, a month ago I was diagnosed with a rare form of cancer. Something I thought was a benign cyst on my arm turned out to be a malignant tumor. I’d by lying to you if I said I knew how I felt about the whole thing. I’ve learned from experience, that after the initial shock wears off you kind of just get numb.
Ironically, I physically felt fine. And so as someone who knows how to use physical movement as a way to avoid feeling feelings, I just forged on, working, climbing, making plans, while I waited for someone to tell me what was next.
The Evolution Traverse was something Gena and I had been trying to do for the past two years, but kept being thwarted by High Sierra monsoon season. I’d spent the spring and early summer this year hiking and jugging for work so knew I was more aerobically fit than usual and the time was now.
My surgery was planned, and Gena was able to get a few days off right before it so we’d go for it then. In the end, while cruising along at an altitude of 13,000 ft, with plenty of time to think, I realized how apt this experience was for what I was dealing with. “One mountain at a time,” “it’s best not to look too far ahead on the ridge,” “stay positive.” The comments from Mountain Project rang in my ears.

Gena points out Mt. Darwin (13,837) - the high point on the traverse
We pretty much followed Steph Abegg’s itinerary to a T, with our plan looking like this:
Day 1: Hike to Darwin Bench
Day 2: Climb the traverse to Peak 13,332 (halfway) - bivy
Day 3: Finish the traverse, hike back to camp
Day 4: Hike out
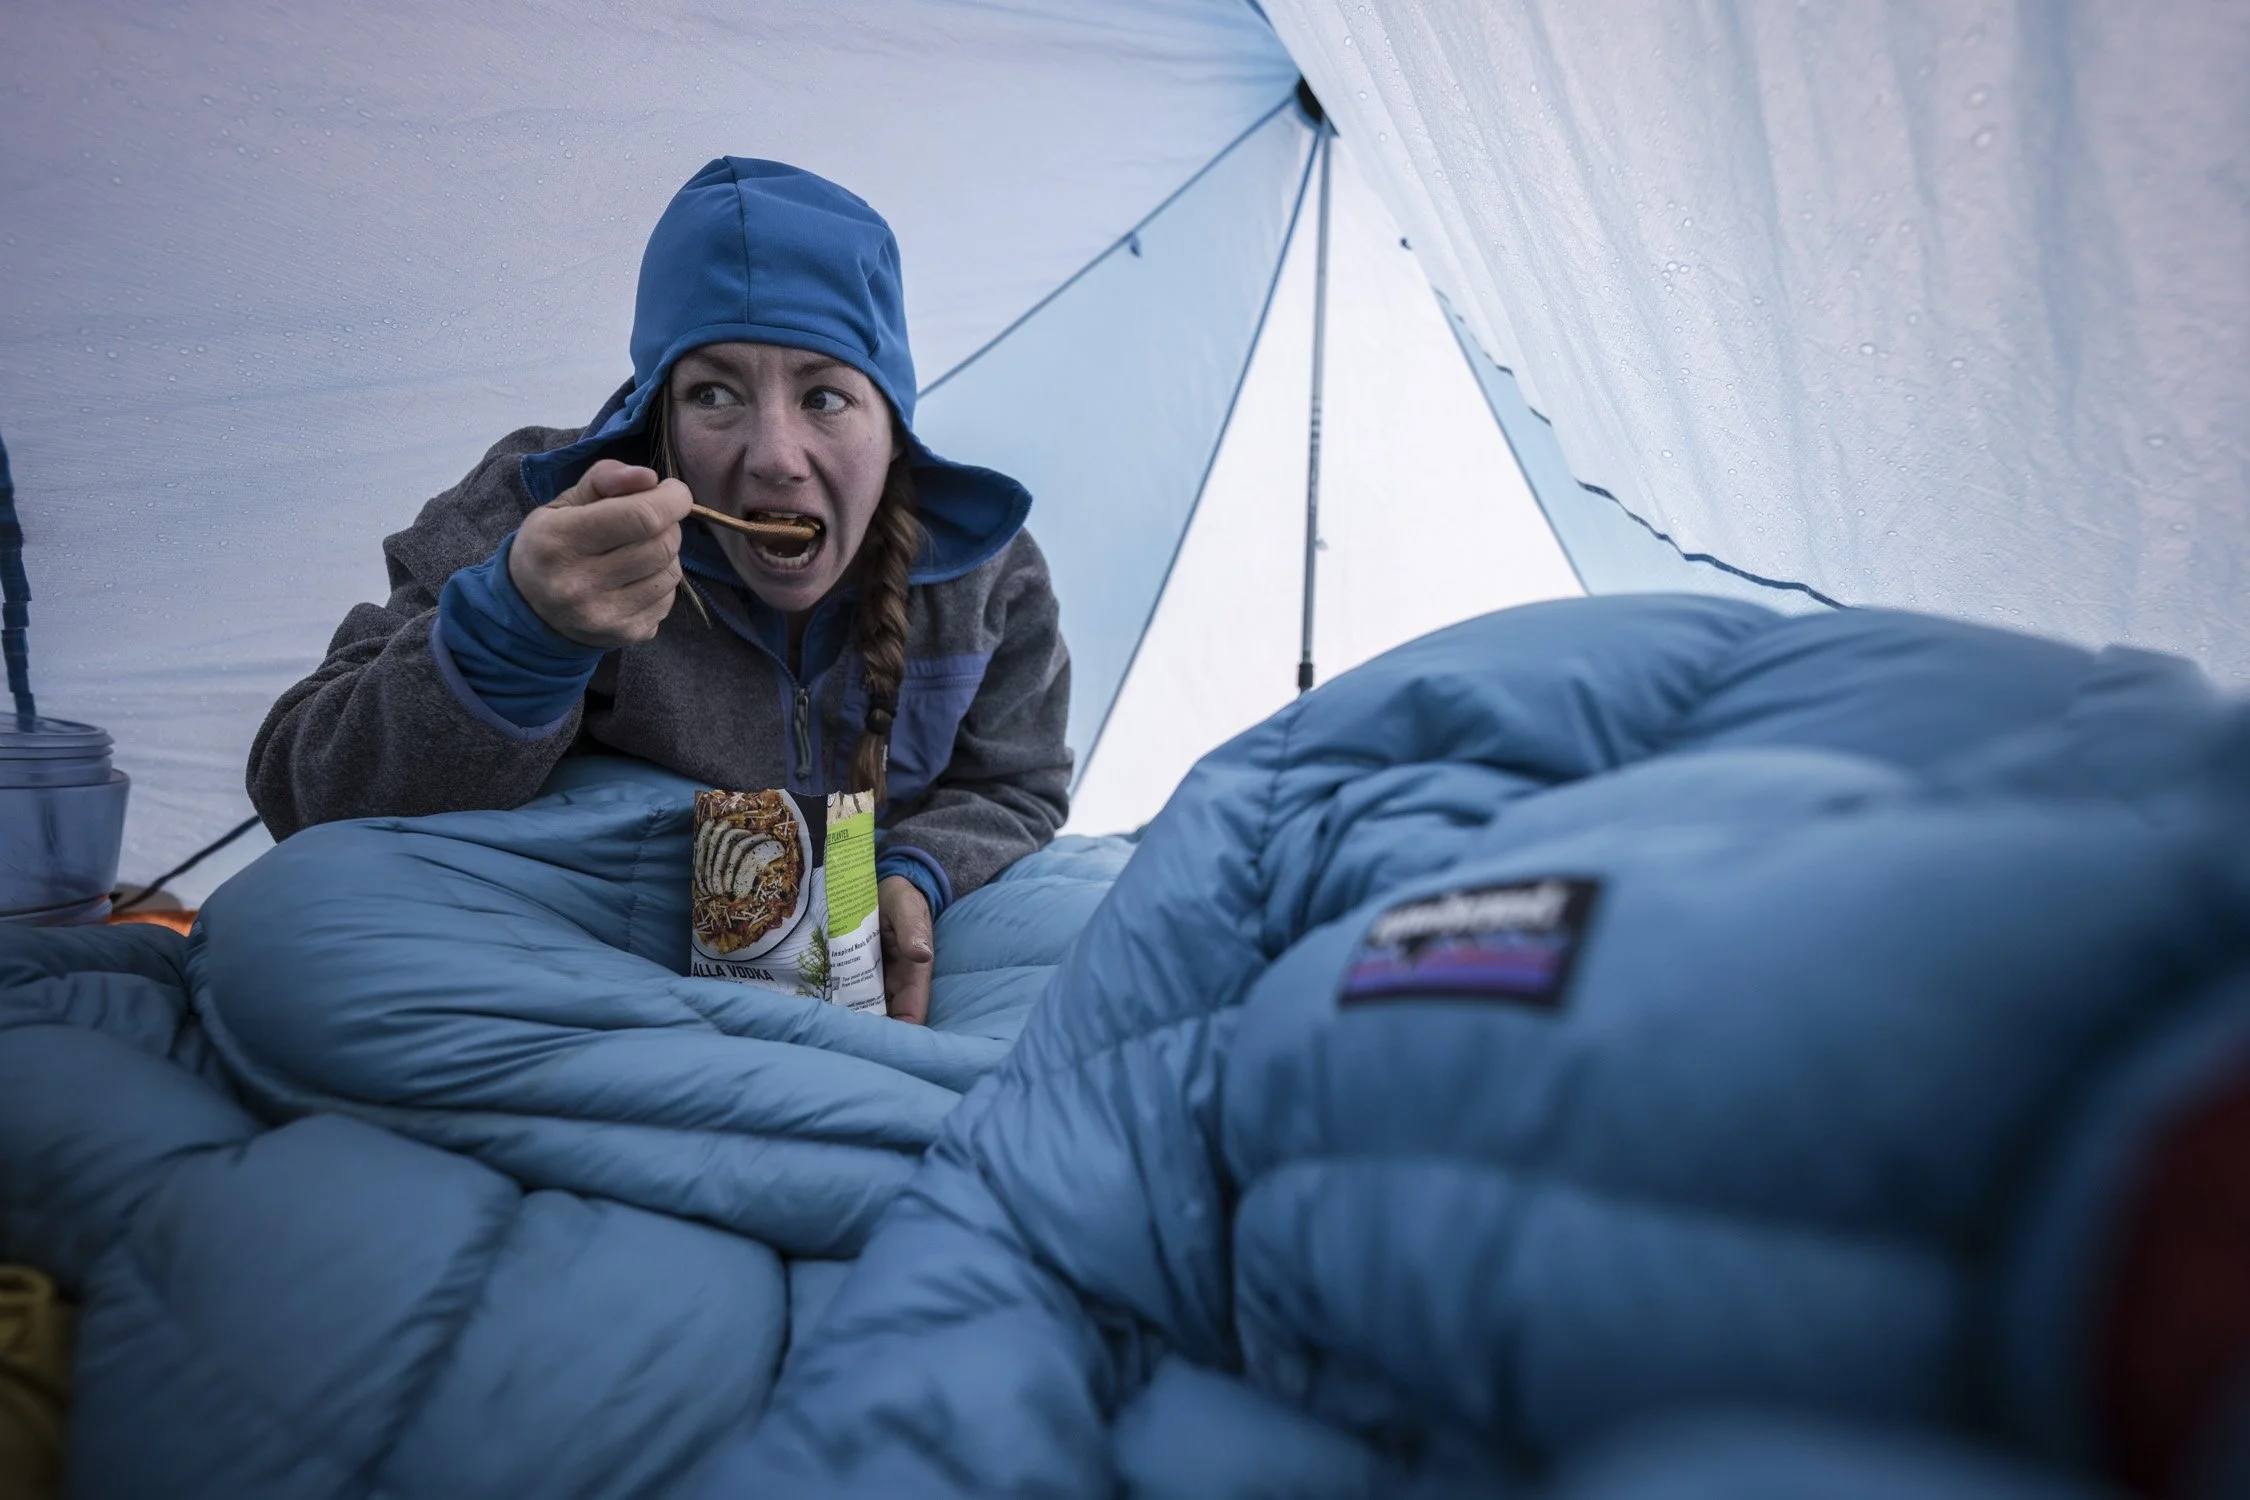
Gena eats some dinner while hail pitter-patters on our tent our first night at camp

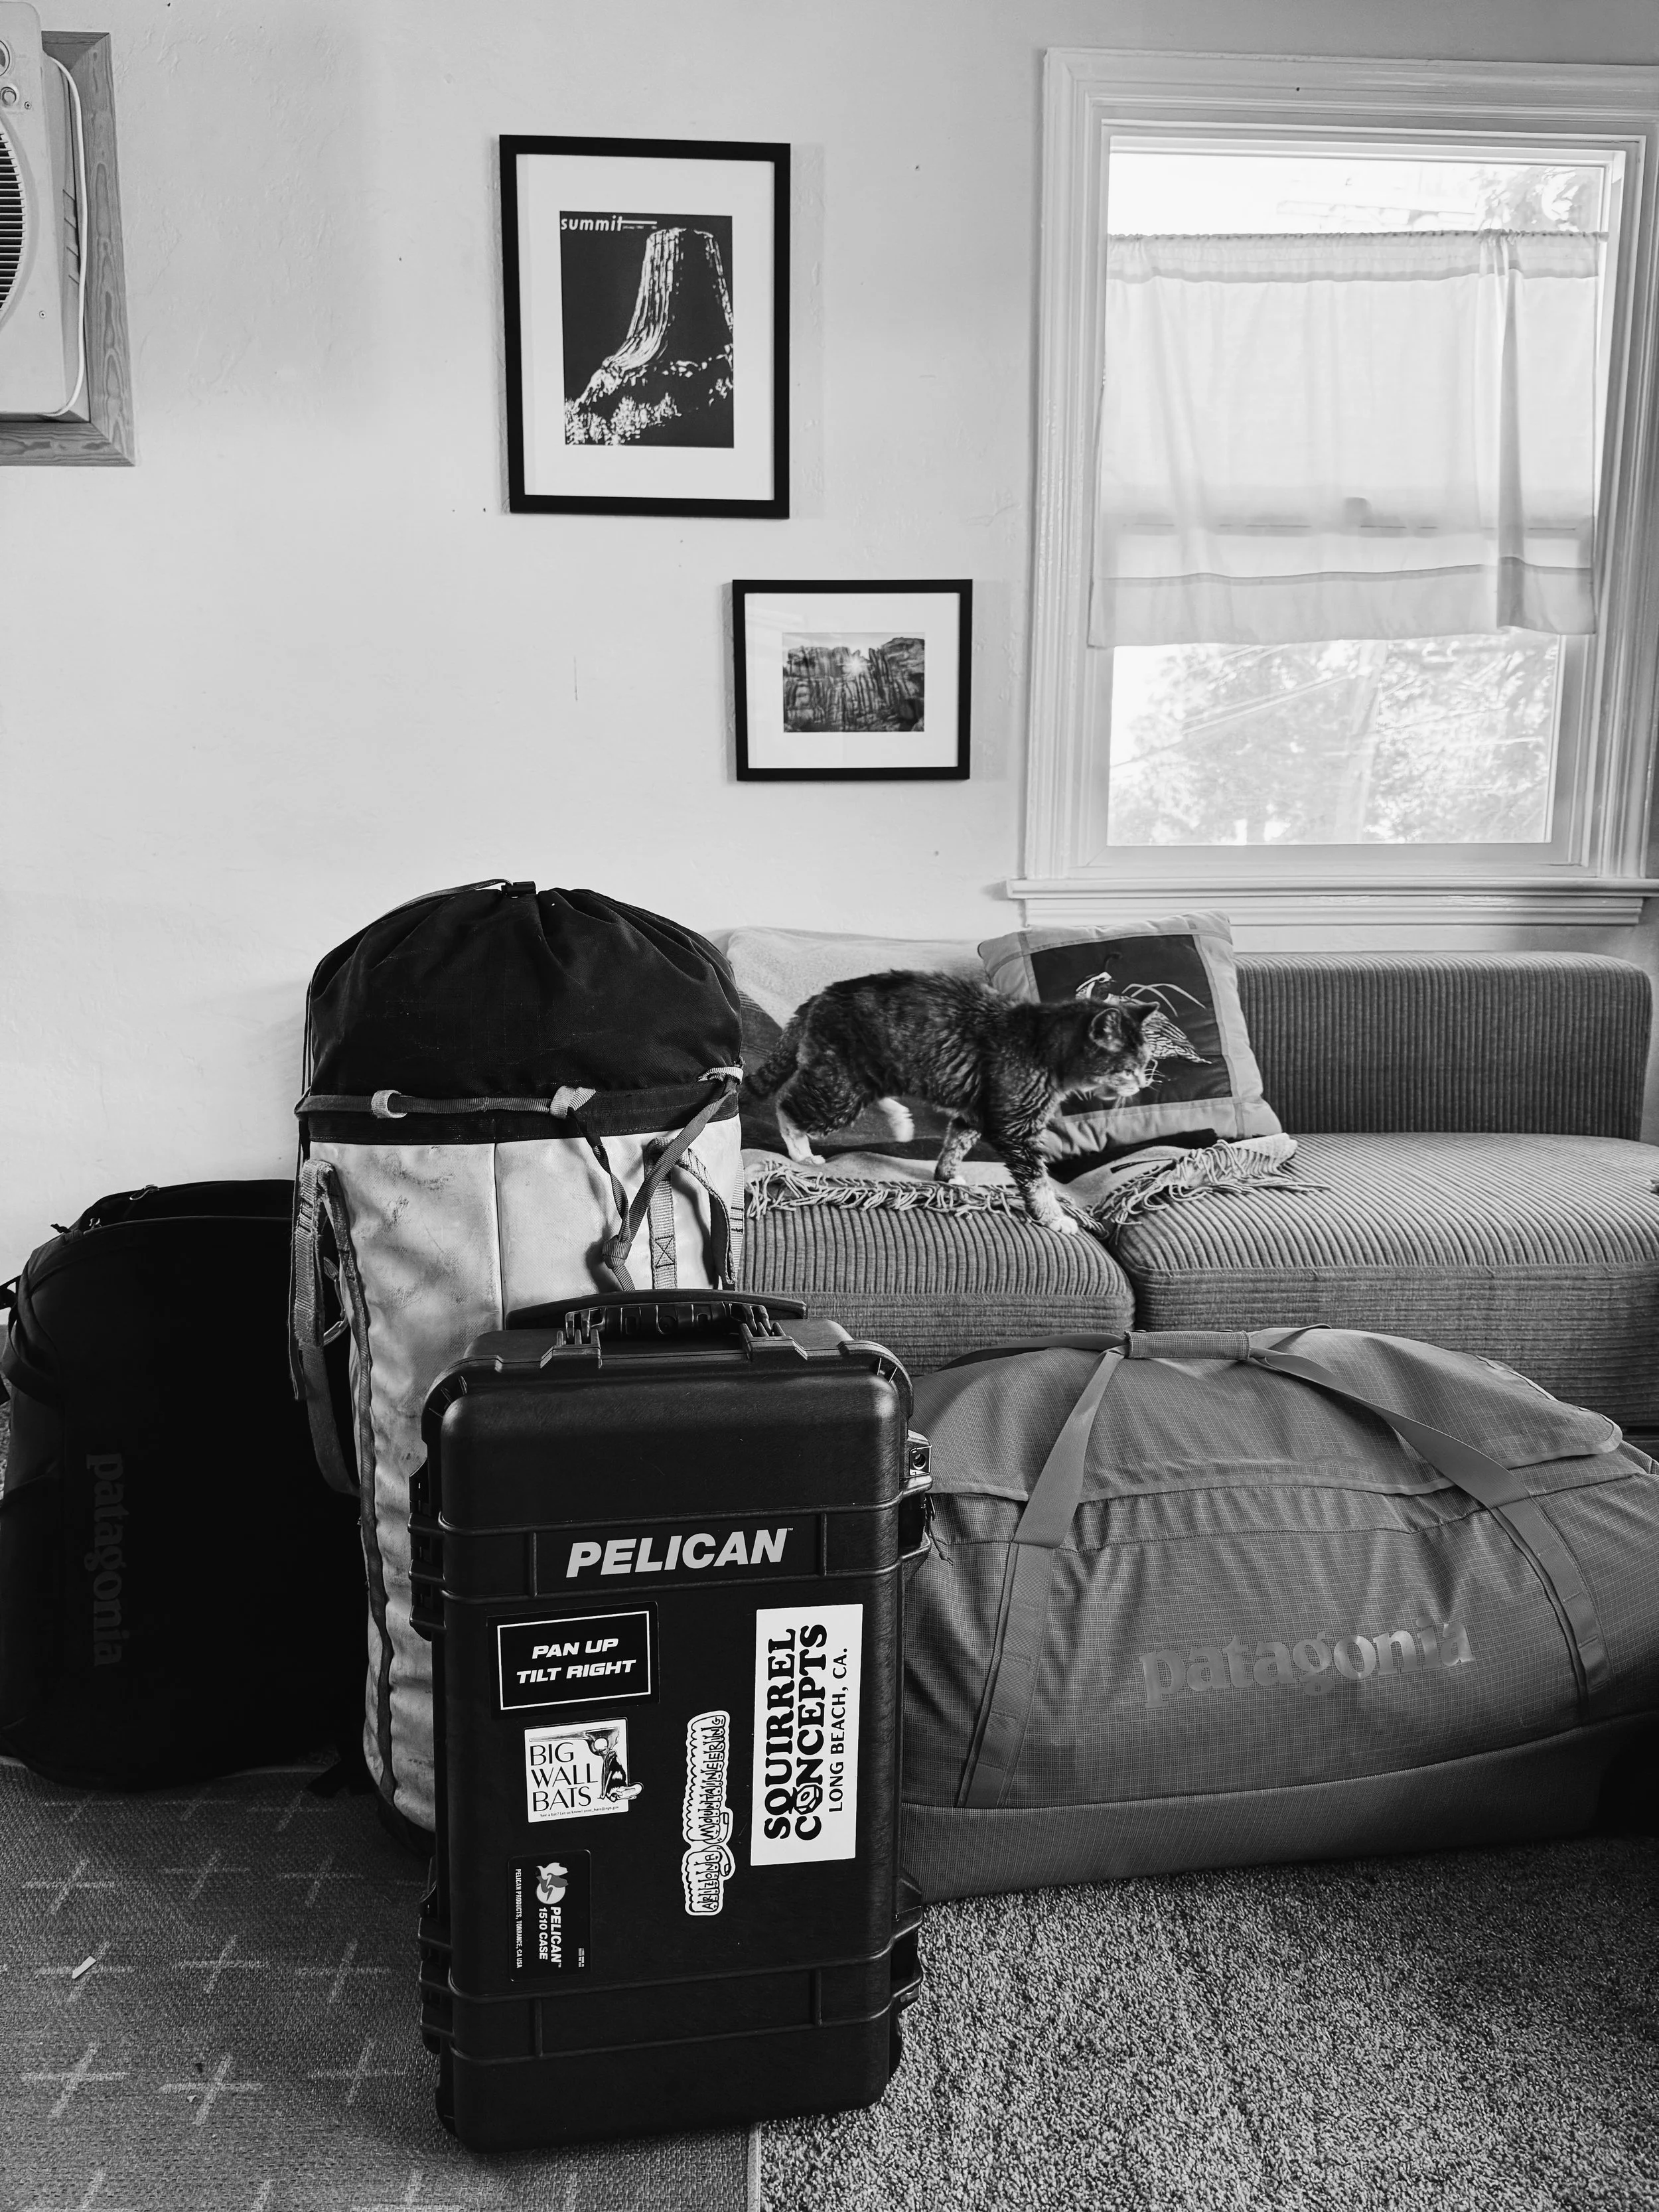
Stella helping me pack
My Gear List:
36L pack (Patagonia Terravia)
Sleeping pad and 20-degree bag (lows were in the 30’s or else I would have taken a 40 degree)
TX4 approach shoes
Nylon double-length webbing for harness
ATC
Chalkbag
Extra tat and lightweight quicklinks in case any rap stations needed attention
Food for 4 days
Titanium 900mL pot, lightweight stove, small fuel canister for melting snow
Sun hoody, lightweight alpine pants, R1, beanie, Capilene air leggings, and medium-weight puffy jacket
1.5 liters of water for on the ridge
My ultimate luxury item… Sony A7 IV with my 14mm 1.8 lens
We also had a 40-meter, 5mm rap line which ended up being the perfect length for all the rappels we did. I felt very comfortable soloing the whole thing in approach shoes (we did all the raps off Darwin, skipping any 5.9 downclimbing sections) and Gena put on her climbing shoes for the last peak, Huxley which had the most sustained 5th class of all of the peaks if you don’t downclimb off of Darwin.
The first day on the ridge, I was buzzing with energy and psych and Gena and I were flowing. Making great time on the often discouraging first few summits, nailing our route-finding, and moving well. From Darwin to Peak 13,332 where we would bivy ended up taking us 5 whole hours. They aren’t kidding about those gendarmes. Weaving up and down and around over a seemingly short distance, it was baffling how long it took. But we summited before sunset, found a nice bivy next to a big snowpatch, and settled in for the night.

Gena on Croft’s Golden Triangle


Our bivy just after Peak 13,332

Gena checks the map
Having finished the more “difficult” and more technical half of the ridge, we took our time waking up and getting started on day two, a day which we definitely underestimated. I would describe the first half of the Evo as being technical, and the second half as being physical. The distance is way longer, the elevation gain and loss is much steeper, and in general is just more of a leg day with a lot of sun exposure.

On the ridge towards Mt. Haeckel
Twice we thought we had summited Fiske only to look over in dismay at where Fiske actually was. The fatigue and dehydration started to kick in, and you look down at Warlowe, this huge, intimidating monster of a peak, and start to dig into the grit reserves you knew you’d have to access at some point.
By Huxley, the light was slanting and turning golden. We took a breath, and started up the last peak, savoring the movement which happened to also be the best on the whole ridge. Solid rock and fun cracks up to 5.7 leads you to a summit ridge full of large, jagged boulders, all contoured by the intense evening light.
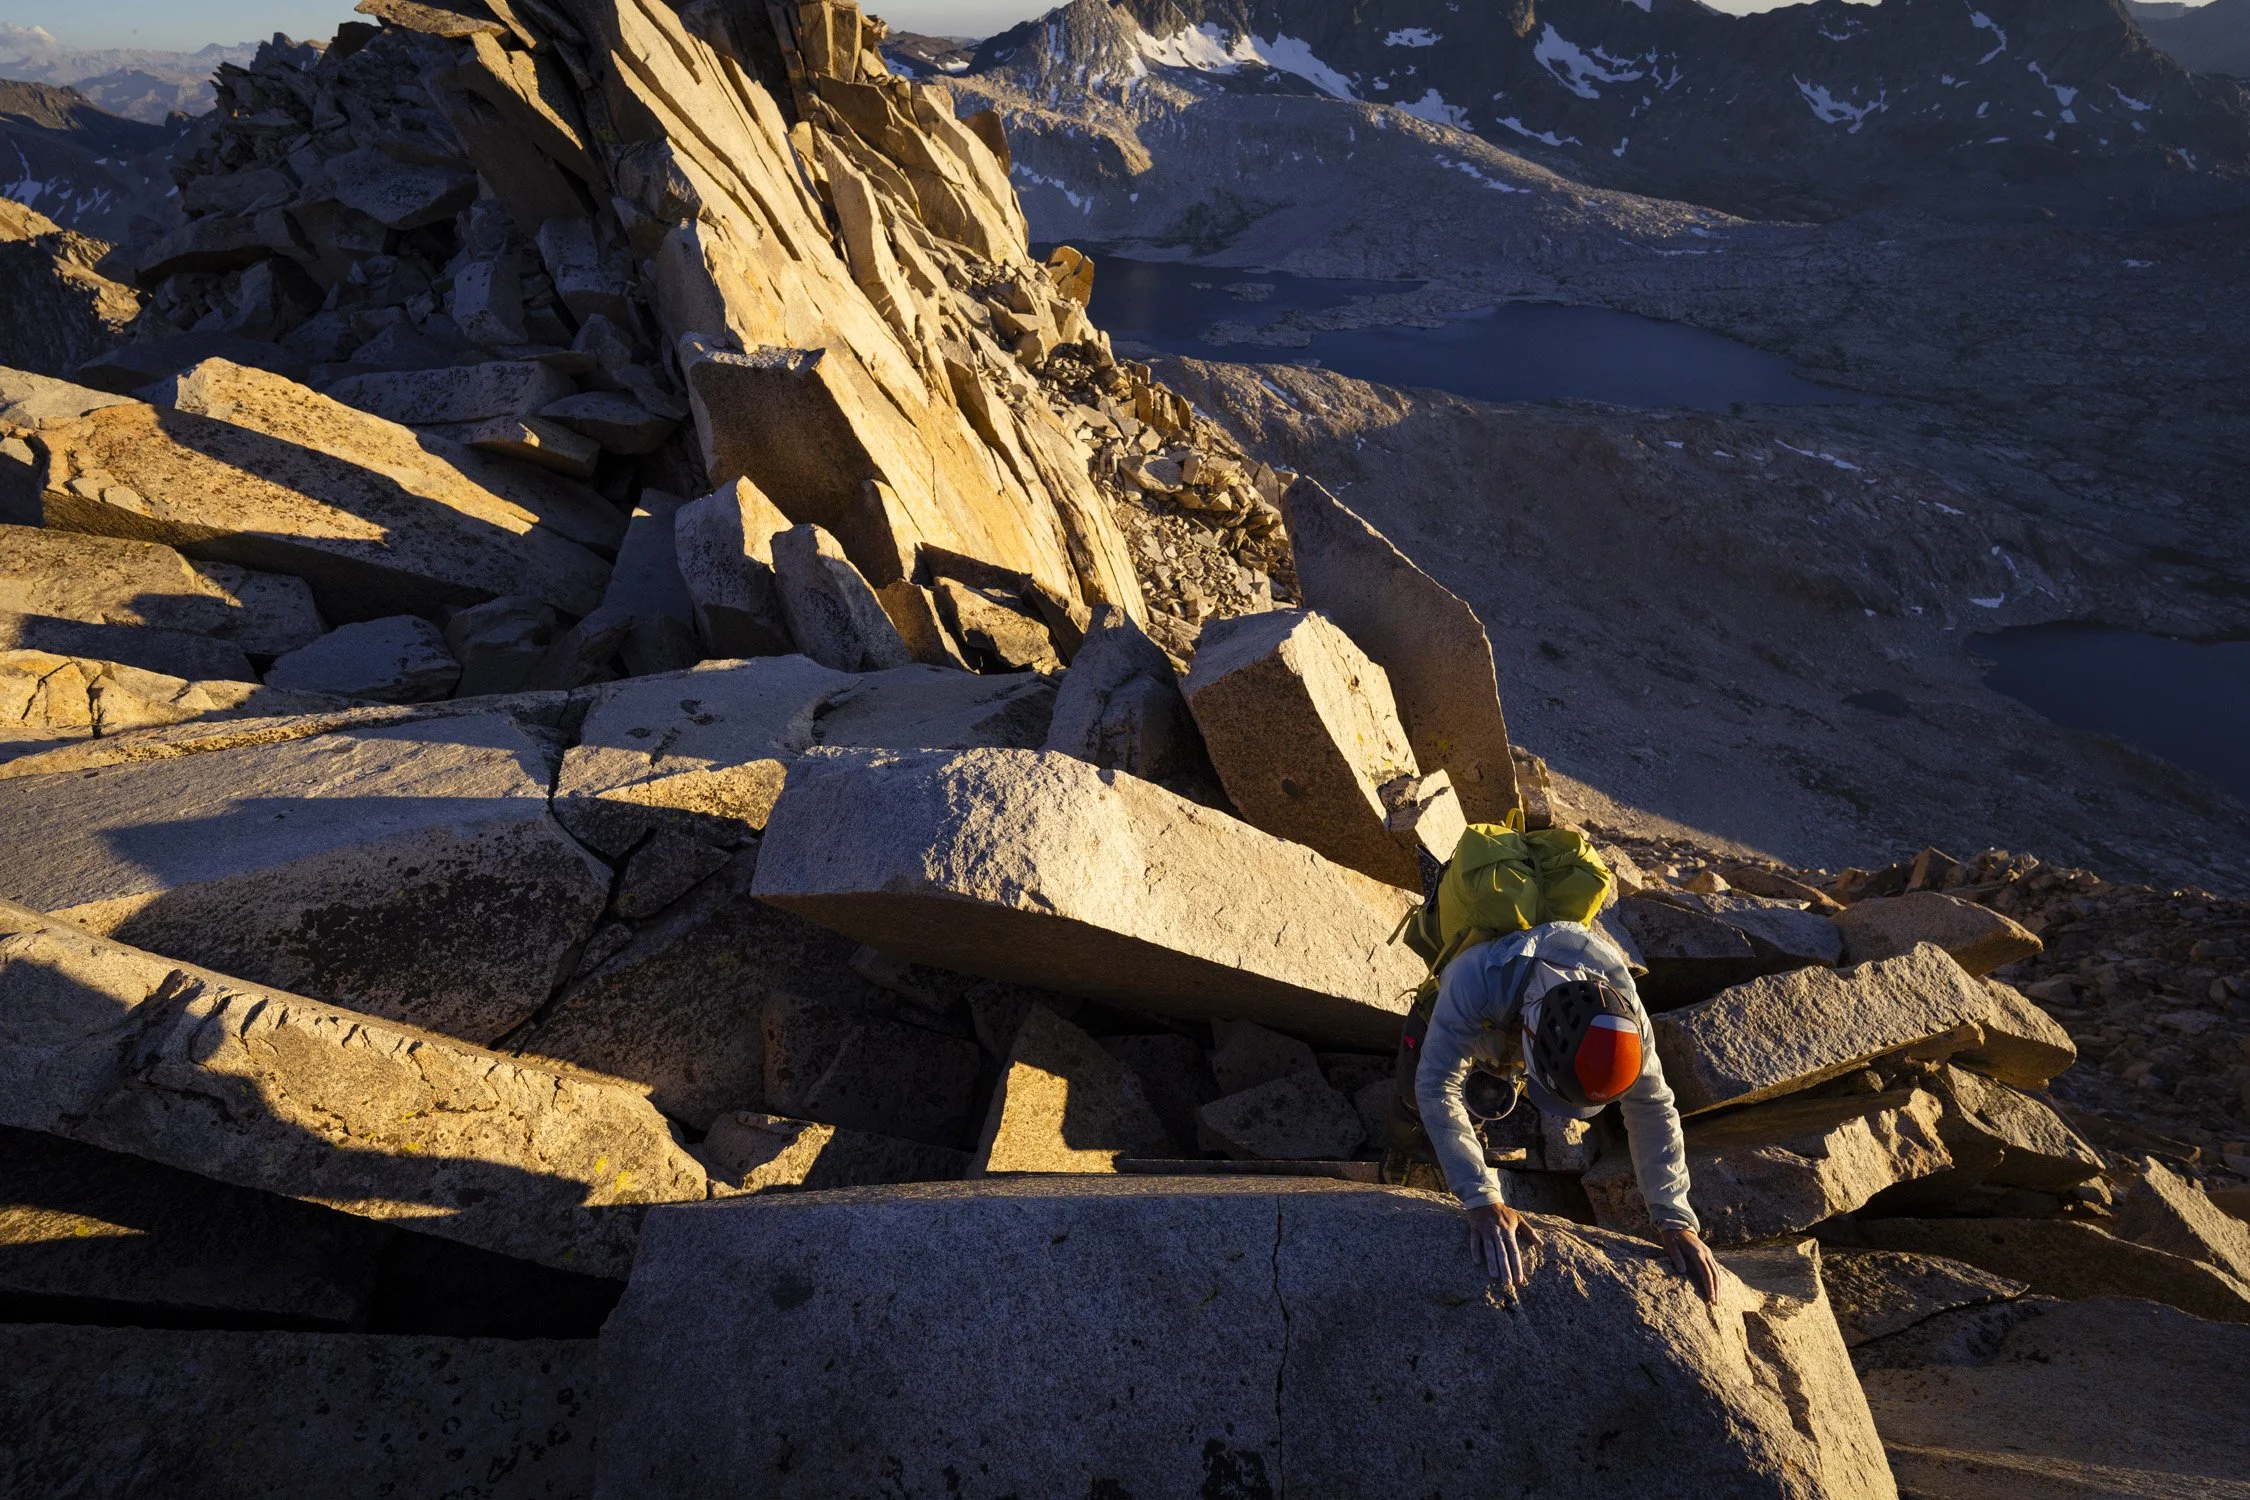

We topped out as the fiery red sun set in the West, and hiked the 5+ miles back to our camp at the Darwin Bench through the night, at which point I was deep in the pain cave. But with nothing to do but hike out the next day, I crashed into a dreamless slumber, happy to be safely on solid ground.
In the end, the Evo traverse was a culmination of all of my alpine experience, and I felt more than equipped to do it. I’m left thinking, but what if, in a day? Only to be wary of the thought of pushing out into even more dangerous territory. Is it a game of odds? Or am I as capable as anyone else who has accomplished the same thing. The feeling is too good, unfortunately, of moving confidently and well across so much terrain, that it only makes you want to do it more. But is it worth it. It’s a question I’m not sure I know the answer to. And will be chewing on for a while, I’m sure.
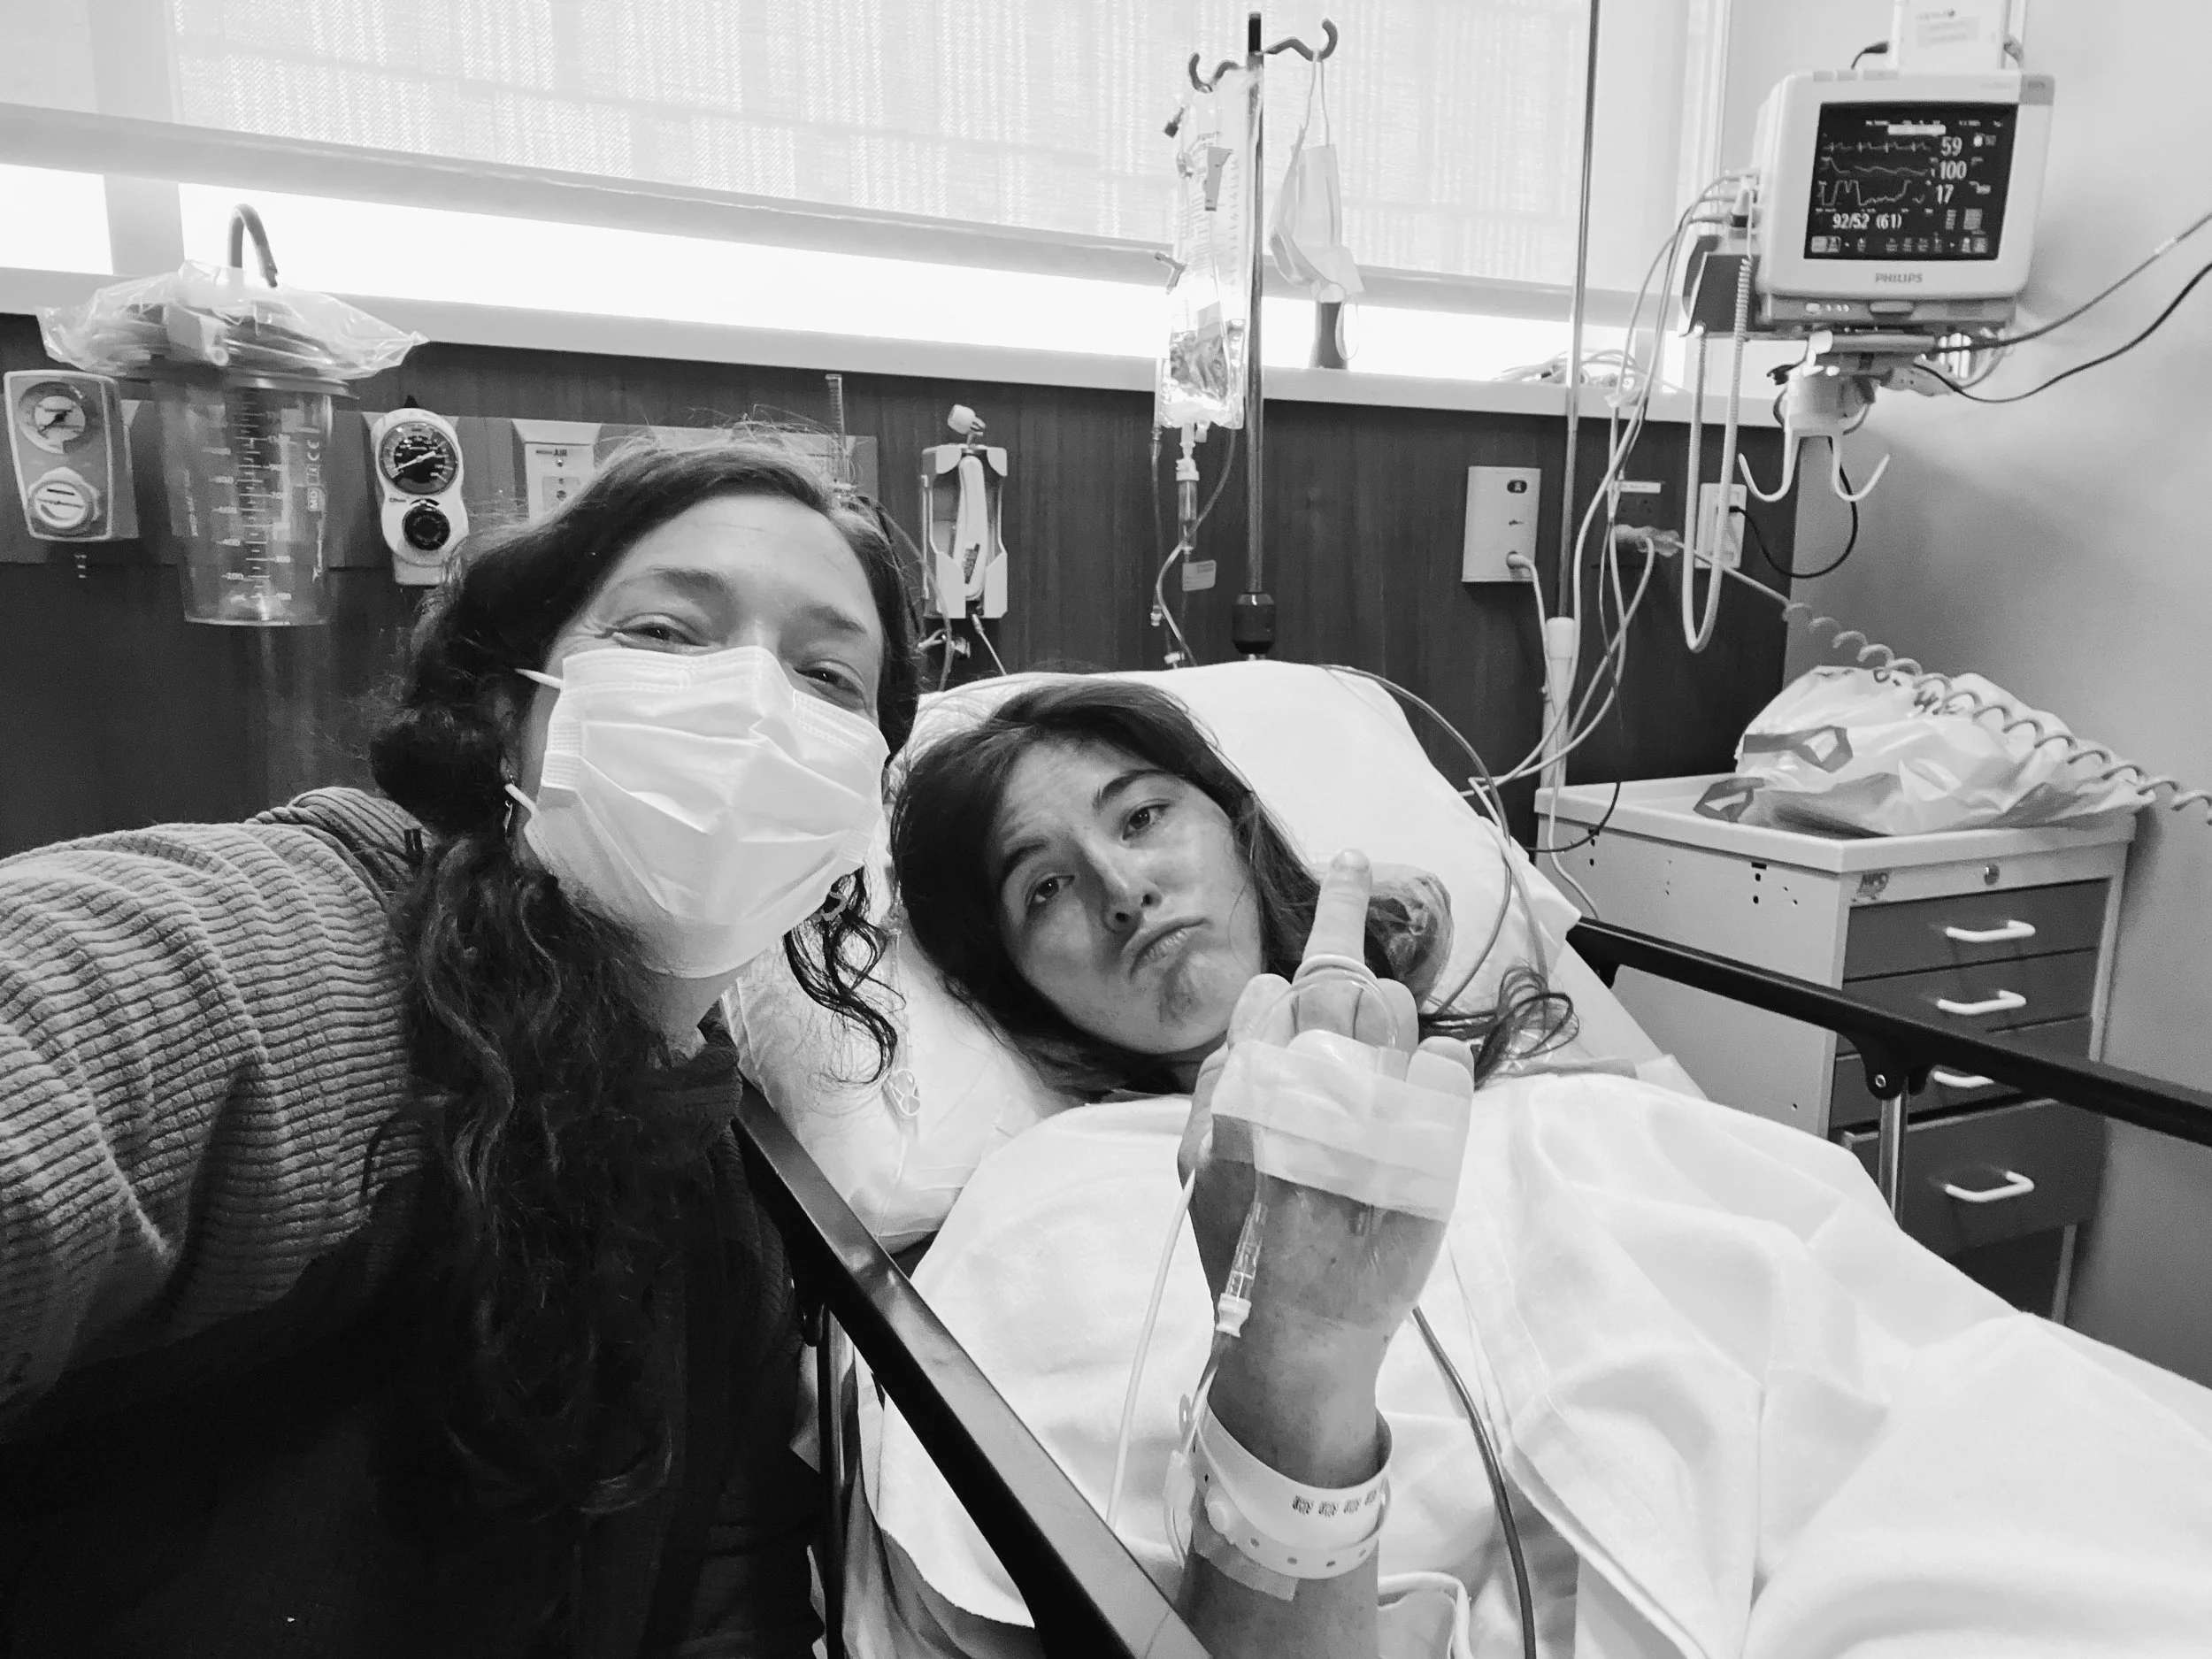
A day later, I had the surgery, and prognosis is good. Still have to figure out a few things but I think it’s going to be alright.
“It is not the strongest of the species that survives, nor the most intelligent that survives. It is the one that is the most adaptable to change”~ Charles Darwin
A Month On Assignment in the Tsaranoro Valley of Madagascar /
“Yo, do you want to cancel all your plans in June and come to Madagascar for a month?? Patagonia needs a videographer!”
I was driving out of service when Lenore called, and as the line stuttered, I did as well, “Um, I’ll call you back when I’m in service!” I said, and the line clicked dead. My friend Gena was next to me in the car. “You have to go!!!!!” She said excitedly. My first reaction to the news was, “I’m tired.” I had just gotten back from 2 months of international travel only 10 days prior. I was getting into a climbing rhythm again, and had to be in Yosemite Valley for work for the next 2 weeks as well, which would leave me less than a week to turn around and pack up and travel to one of the furthest places in the world for a month. It all seemed overwhelming. This is the side of being an adventure photographer / filmmaker they don’t tell you about. Don’t get attached to too many personal plans, because they will all be thrown away in an instant. Usually, I need some time to settle in with the news – first slamming the door shut in its face as I deal with the surprise, and then opening it back up meekly, saying, “sorry, come on in I’m so happy to see you!” And then, I get stoked.
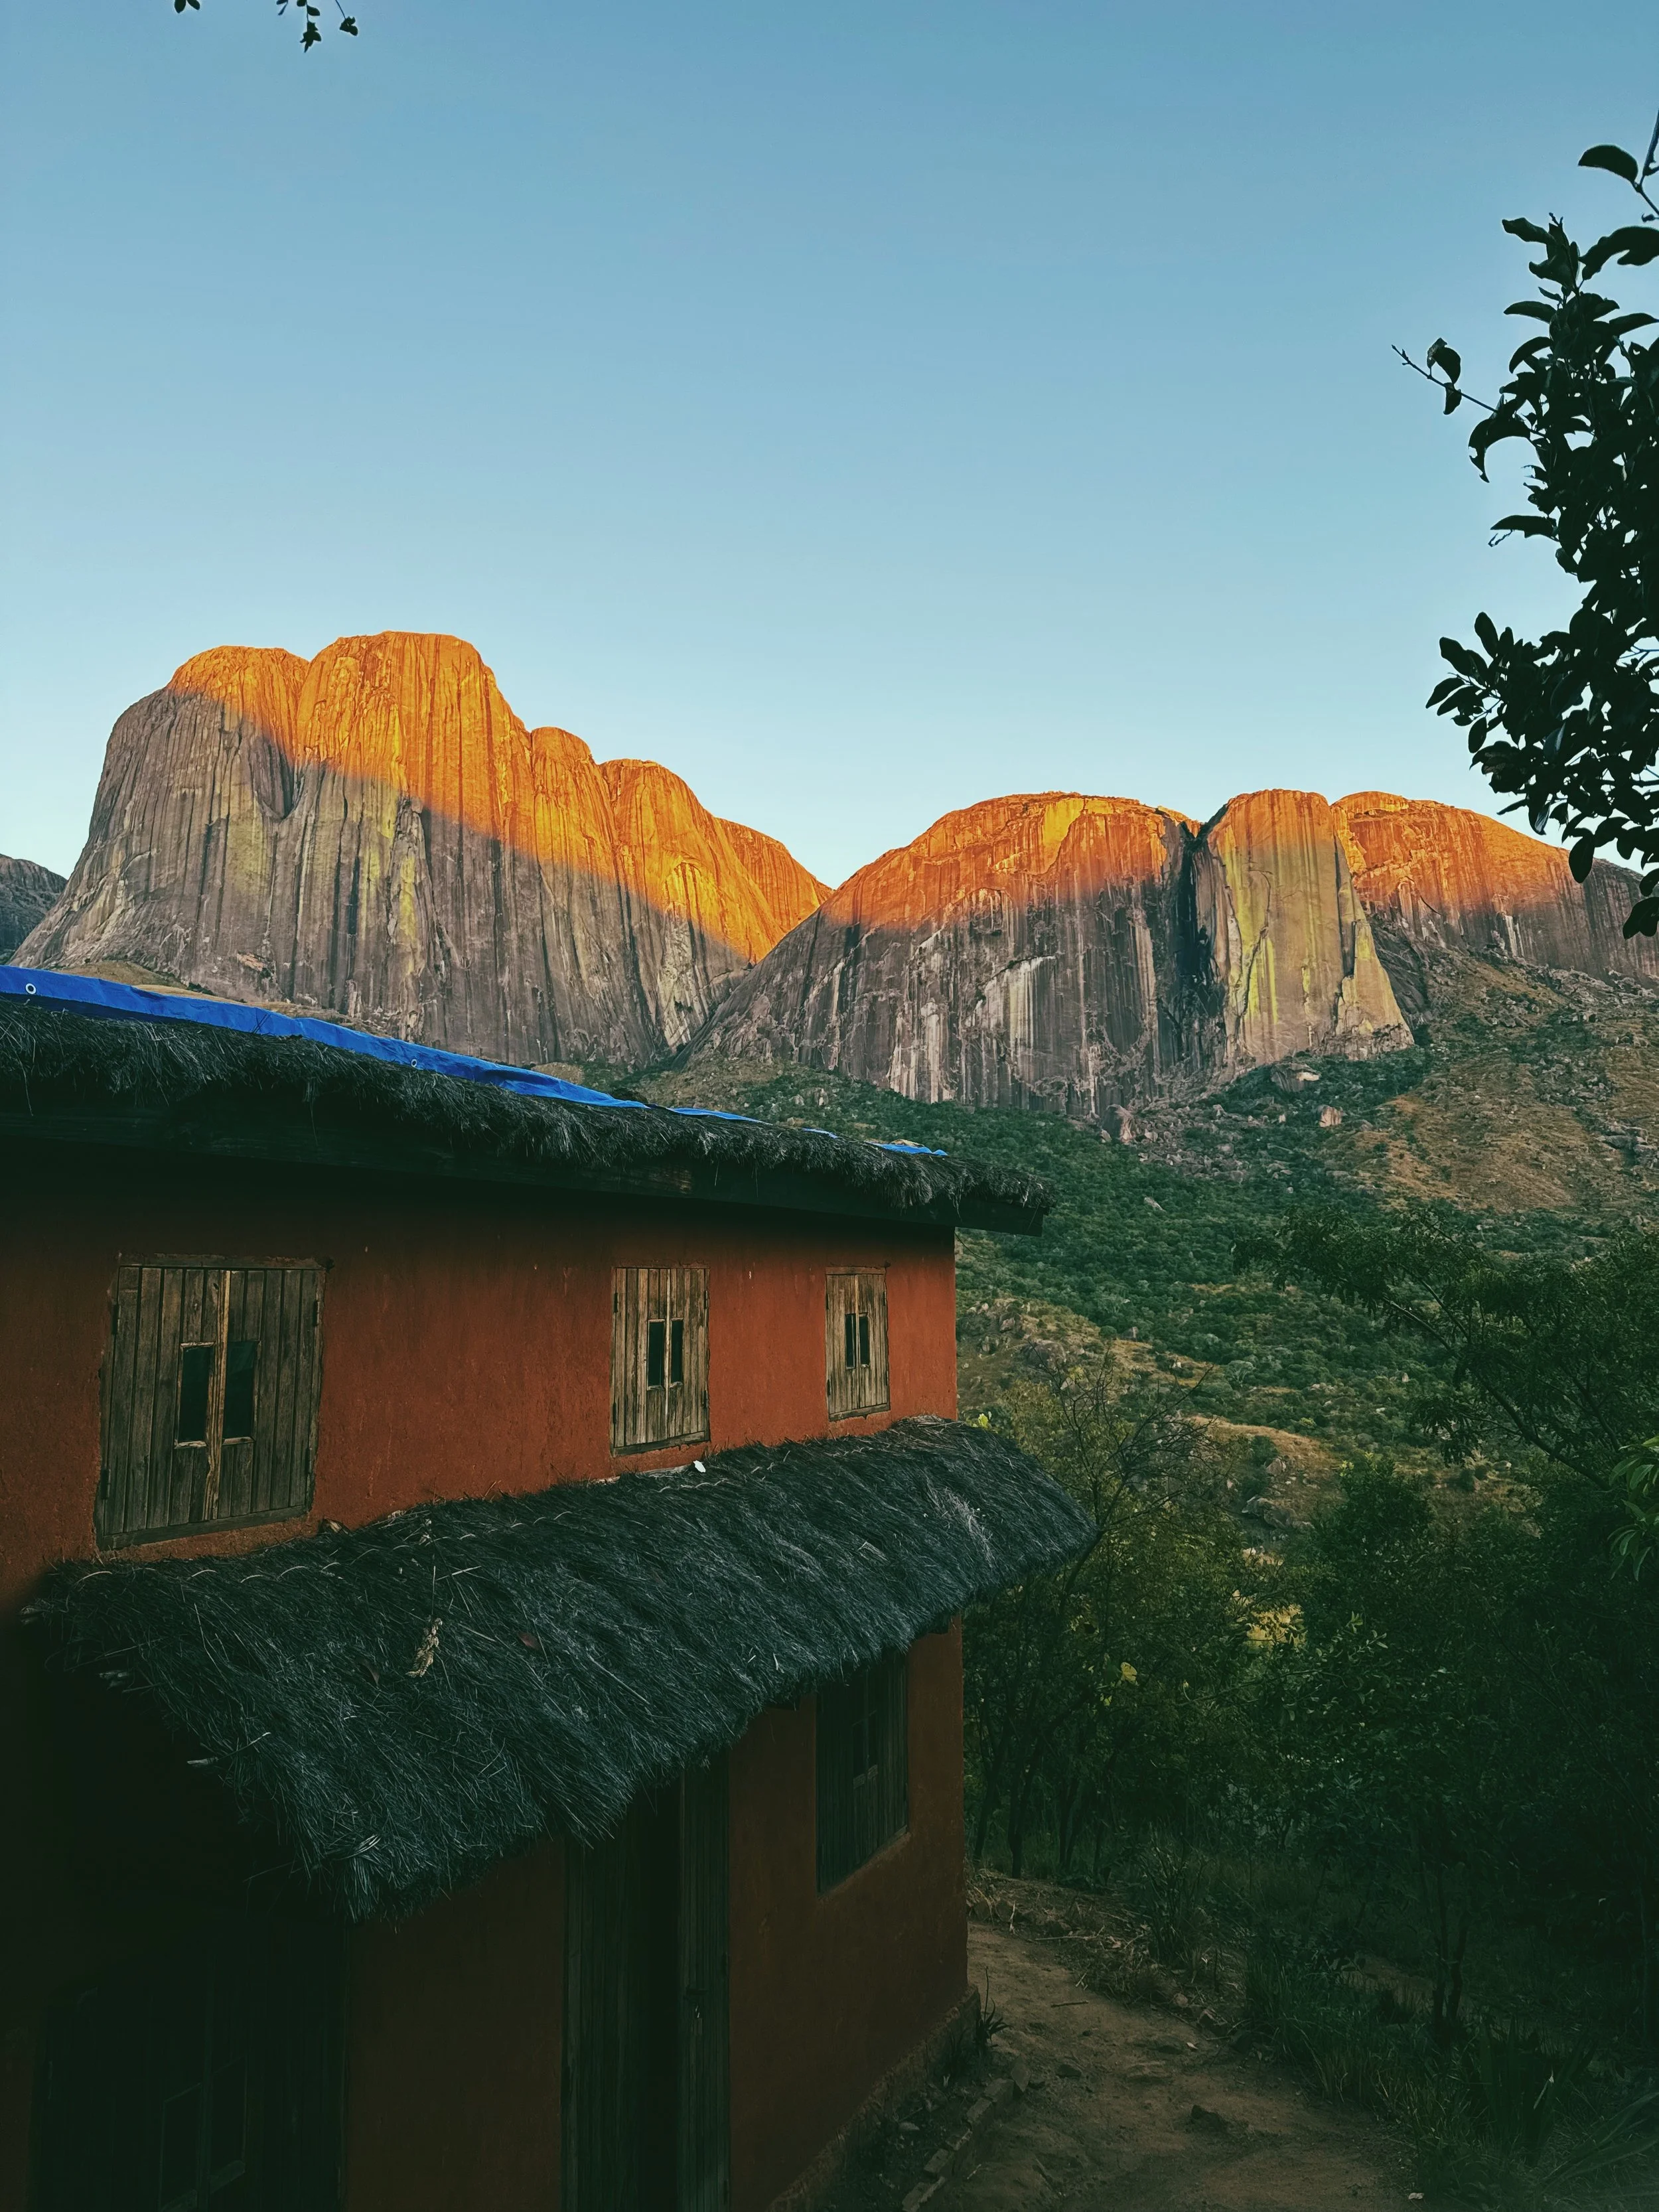
Two and a half weeks later, I started the long journey to the Tsaranoro Valley. First, a 5-hour drive from Bishop to LA. Then, 2 days of flights. LAX to SLC, SLC to Paris, Paris to Antananarivo. Then comes the fun part: 2 days of driving on the worst roads ever all the way to the southeastern part of the island, where a remote valley of granite massifs awaits.
I was there to film for Patagonia. Doerte Pietron, one of their ambassadors, was close friends with Lenore and they were going as a team to attempt to climb a route that Lenore had equipped when she was there last.
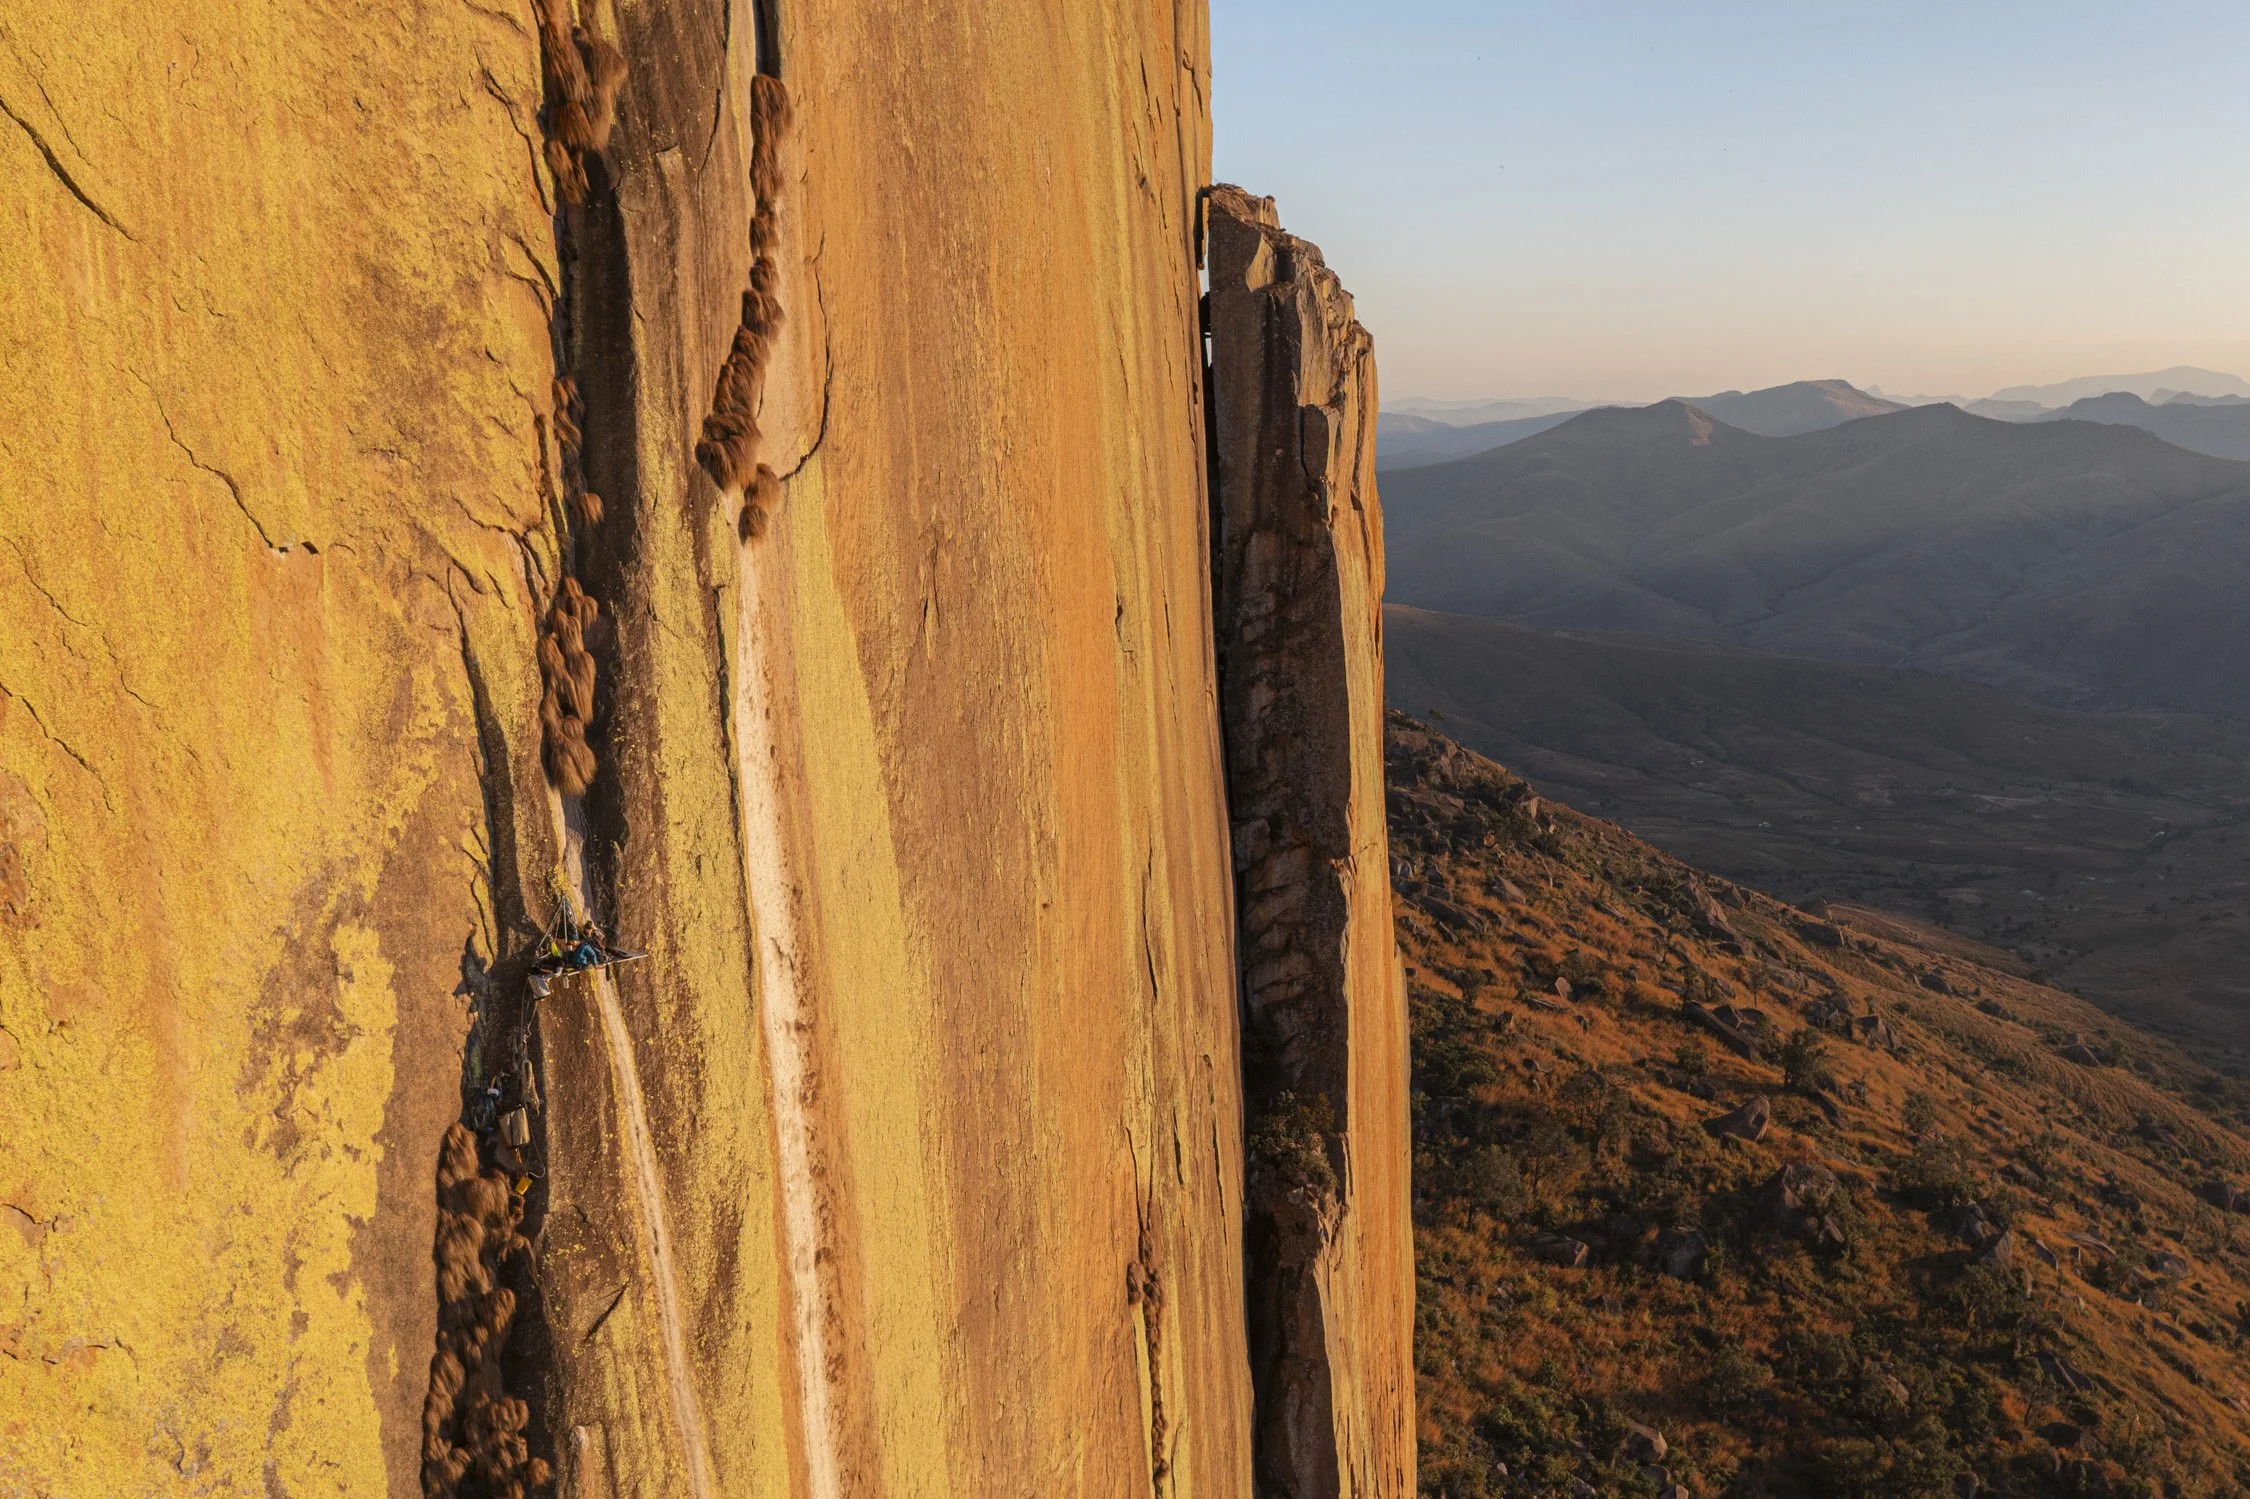
Lenore and Elise halfway up the first ascent of their route, Tsofa Dombo (5.12b A1)
Doerte and her husband, Daniel, are the best climbers no one’s heard about. The quiet crushers. While everyone else is fixing lines and working routes to death, they are going ground up, every time. Trying or establishing viciously hard routes, with no one around to document it.
So I tried to keep my camera as non-invasive to their process as possible.

Daniel on the crux pitch of Lalani M’panjaka (8a+)

Some iPhone snaps from the trip:


Highlights:
Only crashed my drone once
Lemurs.
The most beautiful sunsets you’ve ever seen
Got to climb the mega-classic, Out of Africa with Lenore and Elise - 14 pitches, 11+
Lemurs.
My Favorite YouTube Resources for Documentary Filmmaking /
Most all of the adventure photographers and filmmakers I know out there are self-taught. Usually, climbing came first. Like them, I spent my 20’s chasing adventure – climbing every chance I had, taking jobs that were not career paths, but still growing in ways that I had no idea would pay off later – “skills” of a different nature. While I was generally proficient in photography, filmmaking was a deeply complex world I was intimidated yet excited by. I’ve spent hours upon hours in YouTube university (and still do!) And it can be so overwhelming and challenging to decide what to watch and who to listen to. And while the most valuable learning happens in the real world, either watching someone work, getting on real sets, or the best method, making your own mistakes, you’ll always benefit from some gold old-fashioned studying, too. So I felt like I wanted to share the resources I’ve found to be the most helpful for any aspiring documentary filmmakers.
Austin Meyer
So many YouTube bros are loud, annoying, and talk too fast over excruciating music. I really appreciate the calm and precise demeanor of Austin Meyer and his way of distilling information into really useful tutorials. So many of his videos on his channel are absolute gold; you really feel like you should be paying for them. Here are a couple of my favorites:
For a lot of outdoor adventure documentary work, you’ll find yourself shooting interviews outside. Austin gives a great tutorial here about how to shoot in different natural lighting scenarios. And if you want to learn how to use simple light modifiers, check out, How to Light Outdoor Interviews on a Budget.
This video felt really relavent to me as a documentary filmmaker often shooting scenes as they unfold in real time, i.e. climbing ascents. Here, the pressure is on to get coverage, and your brain is also going a mile a minute thinking about details and cutaways. He covers amazing advice like when to get those cutaways, not forgetting to take deep breaths while you’re in the middle of freaking the f*** out trying to get a shot, and always getting a safe shot before getting an artsy shot. And the absolutely, unbelievably relatable advice of letting go of what went wrong (something that I’m still pretty bad at). All of Austin’s videos are pure gold, so stop reading this and go start watching.
How to Master Natural Light for Filmmaking with Julien Jarry
In the beginning stages of your documentary filmmaking, you’ll be busy enough with just managing camera settings, stabilization, audio, focal lengths, filters, that considering shaping light is something that will probably happen further down the road. It certainly has for me. This is the absolute BEST video I have found on the subject, which breaks down ratios in an easily digestible, not super technical way, and gets you to just start thinking about where to position your subject or yourself in relation to the sun, which will upgrade your shots by 1000%.
The Art of Climbing Photography with Simon Carter
While this is about photography and not filmmaking, I love this video because it shows how one of the greats goes ABOVE and BEYOND to get the shots that he does. I feel like these days, climbing media is not only oversaturated, but often times too “easy.” Use a drone, or fix a rope and just shoot top down and call it good. Someone recently said to me, “I wish they made remote-controlled gimbals with legs that you could program to go up walls,” and I just looked at him with my jaw open. Simon shows how working really hard, and getting super creative with positions, systems, and rigging will get you shots that no one else will, and how working to get into these positions is half the fun of what we do. And even if this is unrealistic for a lot of the shooting you might be doing, it urges you to think outside the box, get creative, and know that if it’s hard, it’s probably worth it. Also, it’s a good reminder to think like a photographer when shooting; things like composition and focal length choice are all key to memorable shots.